When a bathroom or kitchen feels stuck in another decade, you do not always need a sledgehammer and a dumpster. Sometimes, you simply need to repaint tile. It is one of those wonderfully practical weekend projects that can change the mood of a room for far less than new tile, especially when the existing surface is sound but the color makes you sigh every morning.
I am particularly fond of this approach in older homes, where removing tile can uncover a whole new list of problems behind the wall. With careful preparation, the right coating, and a little patience between steps, you can create a cleaner backdrop for the things that make a room feel like yours: a striped shower curtain, a pretty bath mat, or a stack of soft cotton towels.
Decide Whether Your Tile Is a Good Candidate
Before you buy paint, inspect the tile in bright daylight. Repainting works best when the tile is firmly attached, reasonably flat, and free from major cracks. A few hairline flaws can often be filled, but loose tiles, crumbling grout, or water damage behind the surface should be repaired first. Paint is a finish, not a structural fix.
Wall tile, backsplash tile, and low-traffic decorative tile are usually friendliest to this project. Bathroom floor tile can also be painted, but it takes more abuse from shoes, grit, standing water, and dropped bottles. If you repaint a floor, choose a coating specifically labeled for floors and expect to refresh high-wear areas eventually. A shower floor or constantly soaked surface is generally a poor place for a casual DIY coating.
The existing finish matters, too. Glossy ceramic tile gives primer very little to grip, so cleaning and scuffing are not optional. Use a degreasing cleaner to remove soap film, cooking residue, and ordinary household dust. Rinse well, let everything dry completely, and lightly sand the surface with fine-grit paper. You are creating a subtle tooth, not trying to grind away the glaze.
The Preparation Makes the Finish
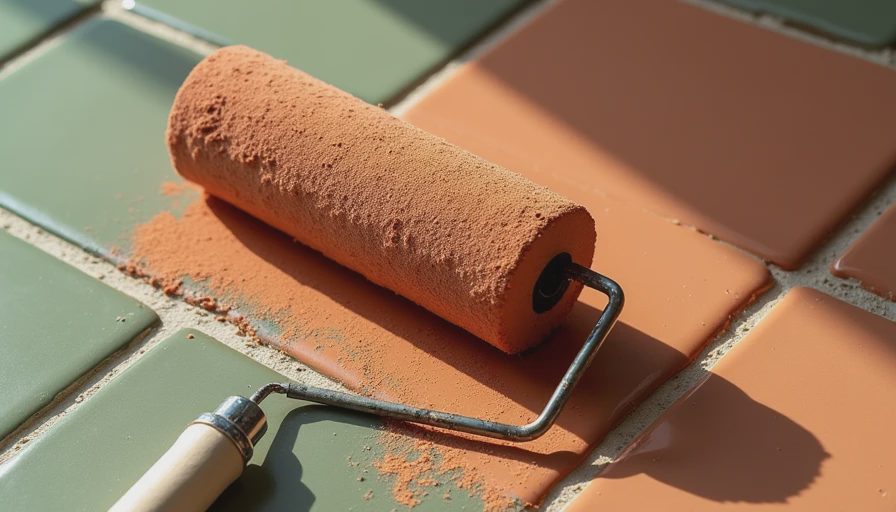
To repaint tile successfully, treat preparation as the main event rather than the boring part before the fun. Remove outlet covers, hooks, and hardware when possible. Protect counters and floors with drop cloths, and use painter's tape along trim, cabinets, and fixtures. A small angled brush will give you more control around edges than a large roller.
Inspect the grout lines and caulk. Paint can cover grout, but damaged or deeply stained grout may still show through as an uneven shadow. Clean it thoroughly, then replace failing caulk at corners or around a tub after the paint has cured according to the product directions. Do not paint flexible silicone caulk unless the label specifically says the coating is compatible.
For glossy ceramic or porcelain, use a bonding primer made for slick surfaces. Follow the label's drying time instead of relying on how the primer feels to the touch. In a humid Charleston bathroom, that difference matters. A surface can feel dry on top while remaining soft underneath, and rushing ahead can leave roller marks, peeling, or fingerprints trapped in the finish.
Choose Paint for the Room, Not Just the Color
The prettiest color in the paint aisle will not rescue the wrong product. Look for a tile, cabinet, tub, or high-adhesion coating that matches the location you are updating. Kitchen backsplash tile needs resistance to ordinary splashes and grease. Bathroom wall tile needs a finish that tolerates humidity and regular cleaning. Floor tile needs a harder formula designed for foot traffic.
Many homeowners choose a soft white, warm gray, pale blue, or muted green because these colors make dated tile feel intentional without making the room look busy. I like a warm white when the existing room has cream cabinetry or brass hardware. A cooler white can look crisp beside chrome, but it may make beige grout seem more yellow. Test a sample in morning light, evening light, and the shadow beneath your cabinets before committing.
When you repaint tile, plan on two thin coats rather than one heavy coat. A thick layer can sag on vertical surfaces and may stay tender longer than expected. Use a small foam roller for broad, smooth areas and a quality brush for grout lines, corners, and edges. Work in manageable sections, keeping a wet edge so overlapping strokes do not create obvious bands.
A Simple Weekend Process
Start with cleaning and repairs on the first morning. Once the surface is dry, sand lightly and remove every trace of dust with a clean, damp cloth. Prime next, then leave the room alone for the full recommended time. This is a good moment to make iced tea, take the dog around the block, or simply accept that the project does not need to be finished in one heroic burst.
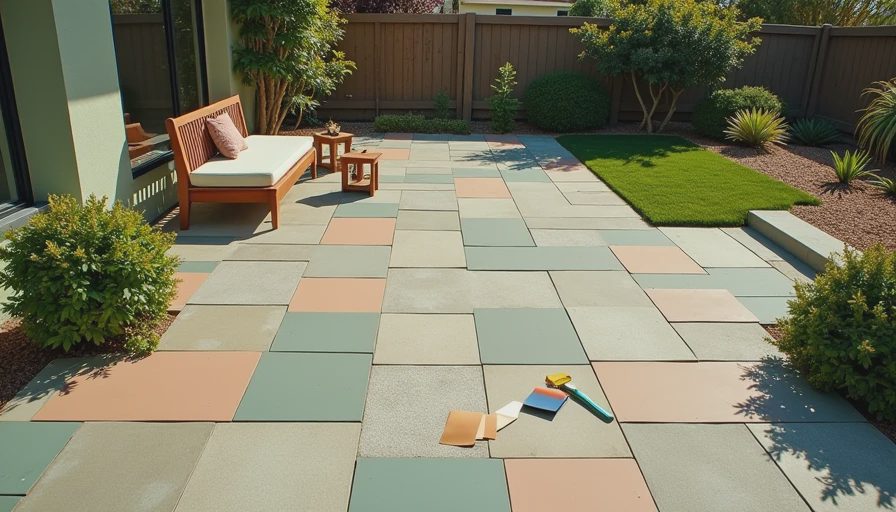
Apply the first color coat with gentle pressure. Do not keep rolling over an area after it begins to tack up. Let it dry, inspect it from several angles, and lightly smooth any obvious roughness before the second coat. If you repaint tile in a pattern, use a level and low-tack tape rather than trusting the original layout; older walls are charming, but they are not always straight.
After the final coat, protect the surface while it cures. The label may recommend several days before washing or heavy use, even when the finish feels dry. Keep shampoo bottles off a freshly coated ledge, avoid scrubbing, and leave painter's tape on only as long as the product instructions advise. Pulling tape after the coating has hardened can lift the edge.
Make the Updated Tile Feel Like It Belongs
Fresh paint changes the background, but the room comes together through the softer details. Replace a tired bath mat with one that has a little texture. Add a washable fabric shower curtain, a framed print away from direct splash zones, or a wooden stool for towels. In a kitchen, a small runner and warm under-cabinet lighting can make a newly finished backsplash feel less like a project and more like a deliberate design choice.
If you repaint tile in a bathroom, repeat one accent color in the towels, artwork, and small accessories. That repetition gives the eye somewhere to land. You do not need a matching set from one store; a faded blue hand towel, a ceramic cup from a local market, and a simple linen curtain can feel much more personal than a perfectly coordinated collection.
Keep the Finish Looking Good
Give the surface a gentle cleaning routine. Use a soft sponge or microfiber cloth and a mild cleaner that is compatible with the coating. Skip abrasive powders, stiff brushes, and aggressive scrubbing pads, which can dull or scratch the finish. Wipe up standing water when practical, particularly around sinks and tub edges.
A painted surface can eventually show wear, especially on floors and countertops. That is not a failure; it is simply the honest limit of a surface that is being lived with. Keep a small amount of leftover product labeled with the room and date. If a corner chips, clean it, sand the loose edge, prime the spot if required, and touch it up rather than repainting the whole room.
The best reason to repaint tile is not to pretend an old room is brand new. It is to give good bones another useful chapter. Spend your attention on preparation, choose a coating made for the job, and let every layer cure before the family charges back in. With that patience, a modest update can make the whole room exhale.