
Caulking your tub is one of those small home projects that can make the whole bathroom feel cleaner, brighter, and better cared for. That thin, dark line where the tub meets the wall collects soap, dust, and enough mildew to make you sigh every morning. The good news is that replacing it does not require a contractor, a truck full of tools, or a perfectly steady hand. It requires patience, a clean surface, and the willingness to let the bead look human while you learn.
A fresh line of sealant also protects the less pretty things you cannot see. Water can travel behind cracked caulk and damage drywall, framing, trim, or flooring. In a busy family bathroom, where bath toys migrate and someone is always dripping on the floor, that barrier matters. Here is the gentle, practical way I approach the job at home.
Know When the Old Caulk Needs to Go
Inspect the joint around the tub, especially the corners and the area beneath the faucet. If the sealant is cracked, peeling, pulling away from the tile, or spotted with mildew that returns after cleaning, replacement is usually better than another round of scrubbing. A small gap can allow water through every time the shower runs.
Before caulking your tub, make sure you are solving a caulk problem rather than a plumbing problem. A loose faucet, leaking shower valve, or constantly wet wall needs separate attention. If you notice soft drywall, staining on the ceiling below, a musty smell, or movement in the tub surround, pause and investigate. Fresh sealant will not repair water damage; it can simply hide it for a little while.
Plan for a dry day if possible. The bathroom needs ventilation, and the new bead generally needs at least 24 hours without water. Tell the household that the tub is temporarily off duty. In my house, that announcement is treated as a dramatic inconvenience, but it saves the work from a six-year-old's enthusiastic bath before it has cured.
Gather the Right Supplies
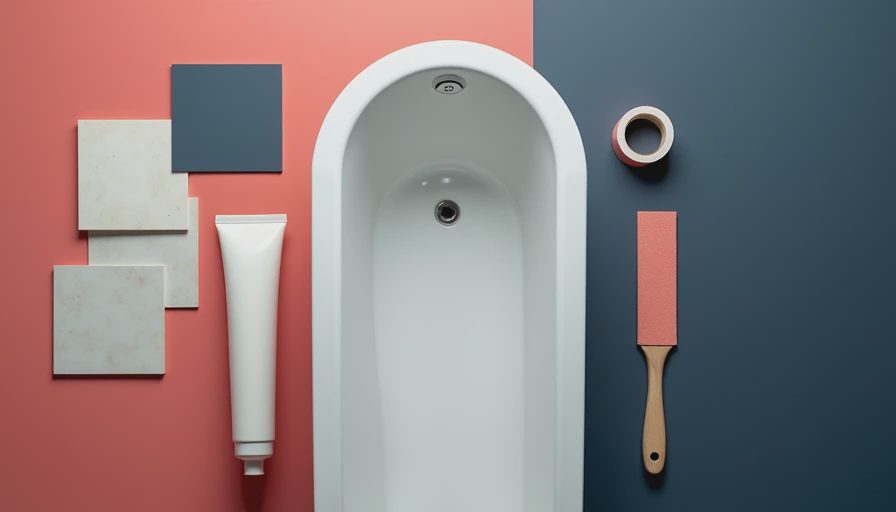
You will need a utility knife or caulk-removal tool, a plastic scraper, paper towels, rubbing alcohol, painter's tape, and a caulk gun. Add a small cup of water and a clean, damp cloth for smoothing. Keep a trash bag close; old caulk has a talent for landing on the floor, your socks, and somehow the cat.
Choose a bathroom sealant labeled for kitchens and baths. A 100 percent silicone caulk is a strong choice for a tub-to-tile joint because it stays flexible and resists moisture. Some products are siliconized acrylic, which can be easier to tool and paint, but they do not always offer the same water resistance as pure silicone. Read the label rather than choosing only by tube color.
White is a familiar choice for white tubs and ceramic tile, while clear can disappear against patterned surfaces. If your bathroom has warm ivory tile, bright white may look surprisingly stark. Hold the tube beside the grout and tub before buying. A $10 to $15 tube can do a neat job, but a $25 specialty sealant is often worth considering when the joint gets daily showers.
Remove Every Bit of the Old Bead
This is the unglamorous part, and it is also where the finished result is won. Slice along both edges of the existing caulk with a sharp utility knife, keeping the blade shallow so you do not scratch the tub or cut into waterproofing behind the surround. Pull the loosened strips away slowly. Use a plastic scraper for stubborn pieces instead of pressing a metal blade against acrylic.
For caulking your tub to hold properly, the joint must be free of residue, soap film, oils, and loose material. Wipe the area with rubbing alcohol on a cloth, then let it dry completely. Do not apply new silicone over damp tile or a dusty seam. If mildew remains on the surface, clean it according to the product directions and allow the area to dry fully. Severe mold, soft walls, or a recurring leak deserves professional attention.
Run a fingertip along the joint once it looks clean. You are checking for ridges and crumbs that might make the new bead lumpy. Vacuum loose debris if needed, then wipe once more. This extra ten minutes is far less frustrating than discovering a peeling edge two weeks later.
Apply a Controlled, Even Bead
Load the tube into the caulk gun and cut the nozzle at a 45-degree angle. Start with a small opening; you can enlarge it, but you cannot put the tip back on once it is cut. Puncture the inner seal with the built-in rod. If you are nervous, practice a short line on cardboard first.
Place painter's tape on the tile and tub, leaving a narrow channel for the sealant. Keep the gun at a consistent angle and squeeze the trigger steadily while moving at a slow, even pace. Try to complete each straight section in one pass. At a corner, release pressure before lifting the nozzle, then begin the next section with a small overlap.
When caulking your tub, do not flood the joint with a thick rope of product. A bead about the width of the gap is easier to smooth and cures more reliably. If the tub flexes when someone stands in it, place a little weight inside before applying the bead, following the sealant manufacturer's instructions. This represents the tub's everyday position and can prevent a stressed seam later.
Smooth, Peel, and Let It Cure
Smooth the bead soon after applying it, before a skin forms. Lightly dampen a fingertip or use a caulk-smoothing tool, then glide along the joint with one confident pass. Wipe excess onto a paper towel after each pass rather than spreading it across the tile. Remove the painter's tape while the caulk is still wet, pulling it back over itself at a low angle.
If an edge looks imperfect, resist the urge to keep touching it. A few careful corrections are fine; repeated poking usually creates a wider, messier line. Caulking your tub is not meant to look like a factory robot made it. It should be continuous, smooth, and firmly attached. That is enough.
Follow the cure time on the label, commonly 24 to 48 hours. Keep the shower unused, leave the fan running, and open a window if weather permits. Avoid wiping the new bead with cleaners until it has cured. A little patience here protects the work you just did.

Make the Result Last in a Real Bathroom
Once the sealant is cured, use a squeegee or soft towel to reduce standing water around the tub. Run the exhaust fan during a shower and for about 20 minutes afterward. These simple habits reduce the damp conditions that encourage mildew and keep the joint looking fresh.
Skip abrasive powders, stiff brushes, and bleach-heavy routines on the new seam unless the product label permits them. A mild bathroom cleaner and a soft cloth are kinder choices. Check the corners every few months, especially if the bathroom has heavy use. Early attention to a tiny split is easier than removing a long, hardened bead later.
If you are caulking your tub before listing a home, allow the full cure period and take a close look in natural light. Buyers notice neglected maintenance, but they also notice a wavy bead smeared across beautiful tile. Take your time at the corners, clean the surrounding grout, and replace any rusty hardware nearby. The bathroom will feel pulled together without looking overworked.
A soft room is a room that breathes, and a clean bathroom should feel the same way. With the right sealant, a dry surface, and an unhurried hand, caulking your tub becomes a manageable Saturday task rather than a looming repair. Put on an old T-shirt, turn on a porch-worthy playlist, and give the room a fresh line it can live with.